Hello, and welcome to Cloud Riders Store, where I design, manufacture and sell accessories for Storz & Bickel Vaporisers (source manufacture). At the moment I’m working on few projects, the Mighty Grinder is the main one. It’s a Grinder that fits on the Mighty & Crafty vaporiser, using a similar filling aid device so you can grind right into it and savour every trichome. Also I’m in the middle of moving from Melbourne to the Netherlands and I’m almost finished designing and testing a Charging Stand for the Mighty.
A lot happened last week, not sure where to start, so I’ll talk about myself a little, lol.
In the past, I used to pride myself for being a great salesman, and honesty; until now I had no idea why I used to be that good, I thought I knew, but I didn’t. Until I had to deal with so many salespeople, all together, last month, and experience first hand how hard it’s to communicate with a salesperson, most of them are so focused on the order, they don’t listen, obviously not all of them, but the majority.
Now on the other hand, some of them are even happy to help, to give first, like Adam from Markforged Australia, Markforged printed a prototype of the grinder for me, that’s 10 pcs in total, for free, yes they are trying to sell me a printer, but I found that very generous, and it was very helpful.
Although I’m not reviewing 3d printers here, but I believe the prints are of a good quality, the parts are strong, and the details are good, but the finish is not suitable for the purpose of the product. If I want to print 3D parts for engineering use, I will be definitely considering their printer, and I believe engineering clients are more their focus, but they were happy to help, which was great.
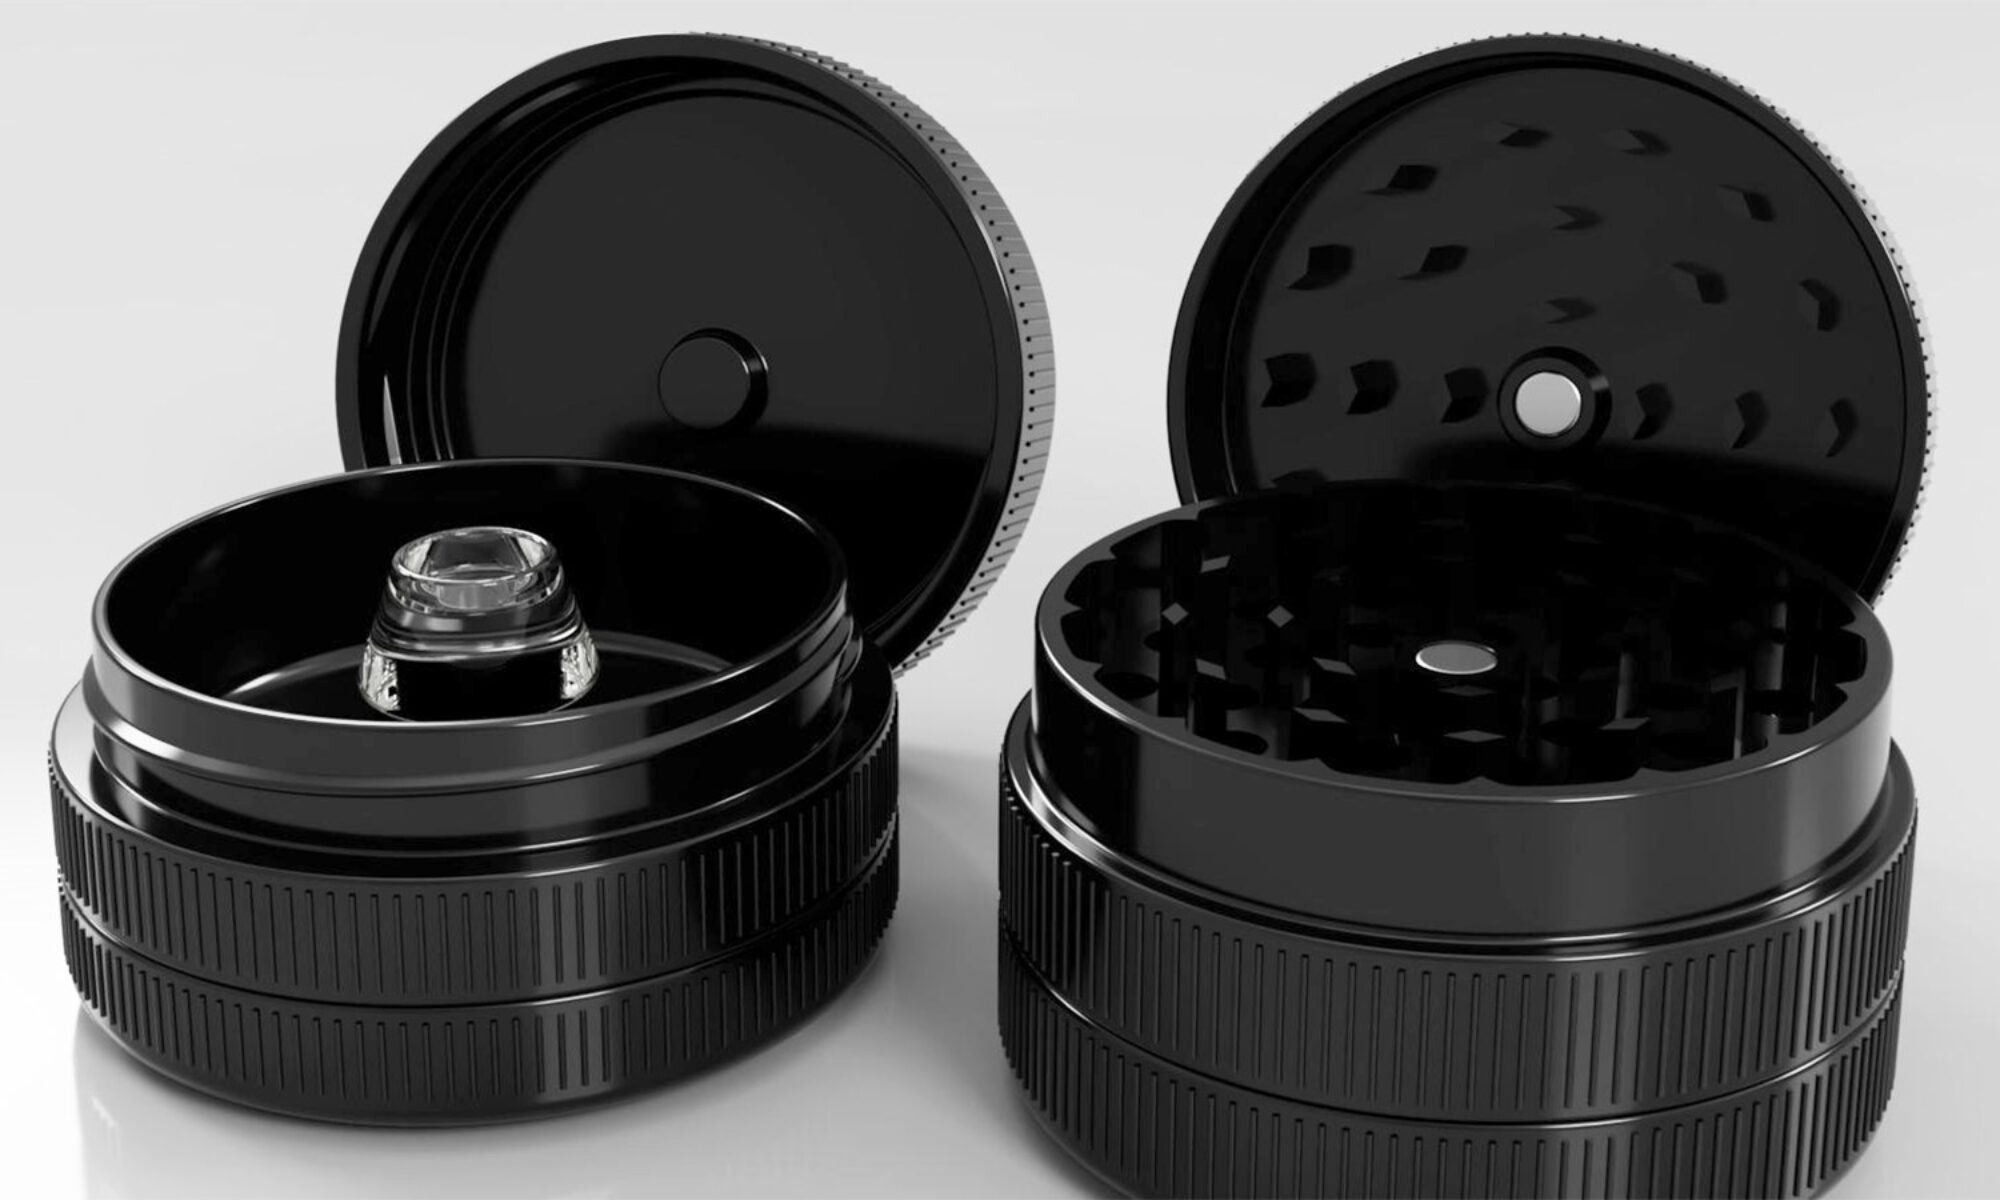
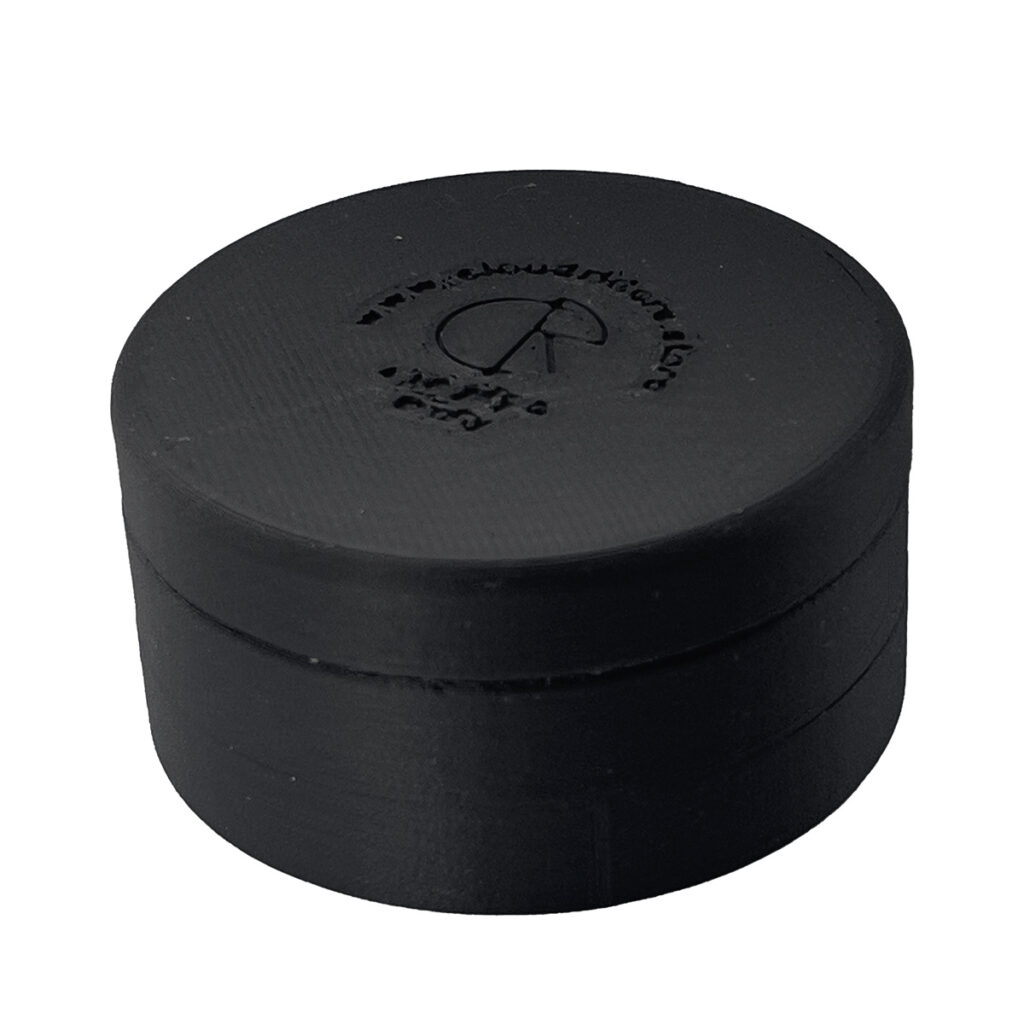
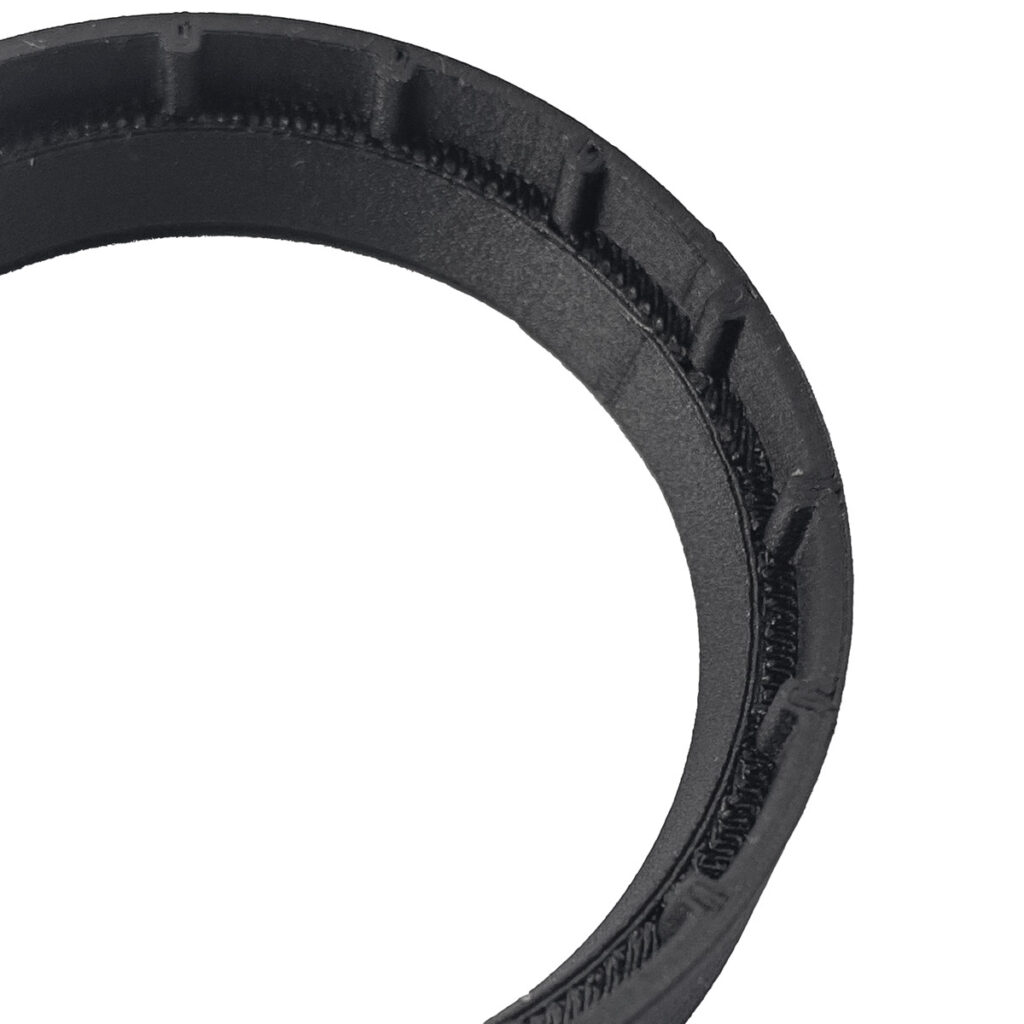
Below Images of some parts.
And this bring us to the title. Prototype.
After seeing the prints and talking to sales about the production of the grinder plus all the feedback from engineering departments, I decided to try to simplify the design.
Being a grinder the parts are small, which mean alot of the measurements are sub millimetre, making the tolerance requierd to produce the parts 0.1mm, and I will stop here with the technical jargon, and say;
I think my design is a bit on the snobbish side more than on the practical side, and to keep up with S&B practically, I’ve changed few things, so now it’s made of two Aluminium parts , four Peek Plastic parts, and one clear Acrylic part.
The Griding chamber itself, went through a complete redesign, eliminating multiple parts and the need for multiple moulds, now it will be made of Anodized Aluminiun. No plastic.
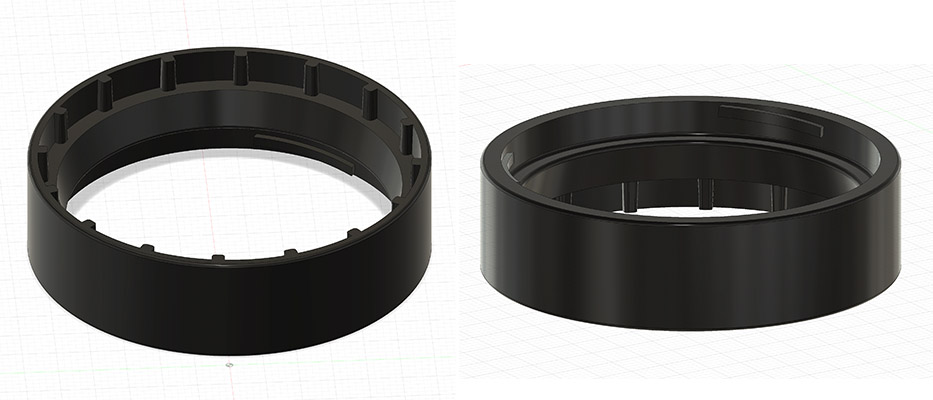
The collection chambers/ filling aid was heavily refined, with airtight goal in mind and more useable space.
I think I came up with a way to make it airtight, I won’t say the filling aid will be 100% airtight, but the walls are now only 0.1mm clear of each other with upgraded thread, that is much better than the OEM.
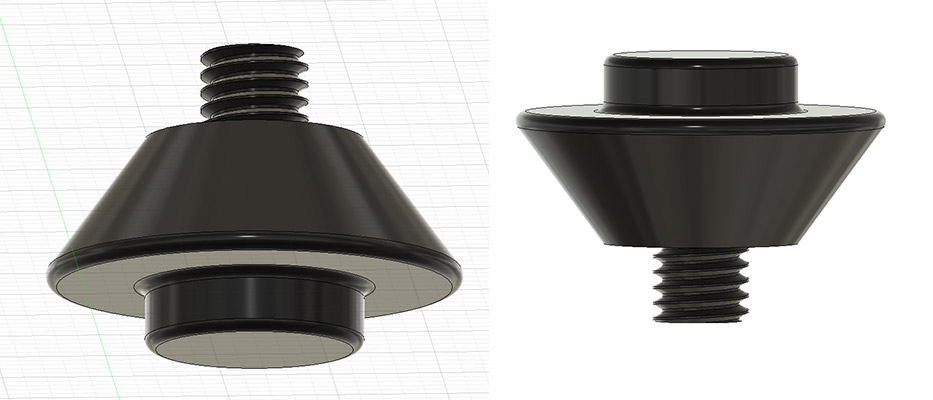
I’ve modified the design of the clear part, that we use to push the herbs, will name it the Asher, and changed it’s design so now it has a 10mm wall, to make holding it easier, especially if you are wearing gloves.
I didn’t finish the design yet. It’s F1 weekend, and I promised my son to take him to the pool on Saturday, so It won’t be pulling a long weekend and finish it, but this is a sneaky peak on some of the parts, after all it’s Friday.
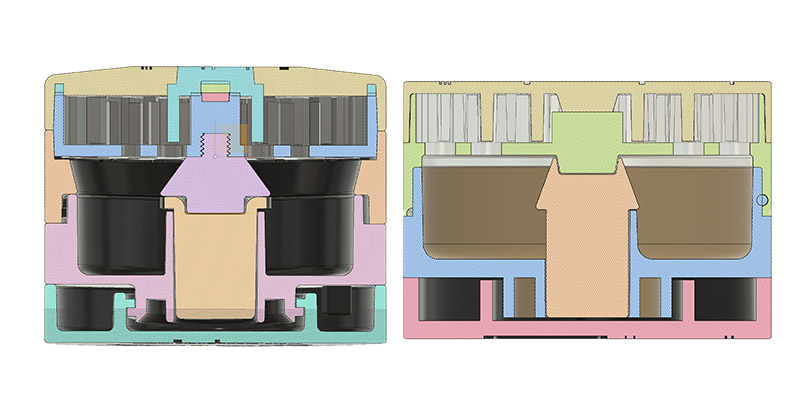
this is the first time I put the two section analysis next to each other, but as you can see, I’ve achieved the same functionality with fewer parts, and that will save money in production, making it cheaper, but not only that, I belive it’s way better.
If you look at the old design on the left, starting form the top, You can see the grinder lid, which used to be made of two parts, Plastic in the drawing is Yellow and Aluminium which is sky blue, in the new design it’s all one part and made of Aluminium, represented with the Yellow part in the second drawing.
The second part under it, we have what I call the grinder housing, and it was made of three parts in the old design, two plastic and one Aluminium and not only that, the plastic cone had to be threaded, but now the grinder housing is made of one Aluminium part and I ditshed the cone, by changing the design of the asher to make it easier to use and herbs free, not like the OEM.
I made the grinder 60mm in diameter, this is a good size that will fit a decent size nugget, and redesigned the grinding chamber, it’s nothing fancy, just functional.
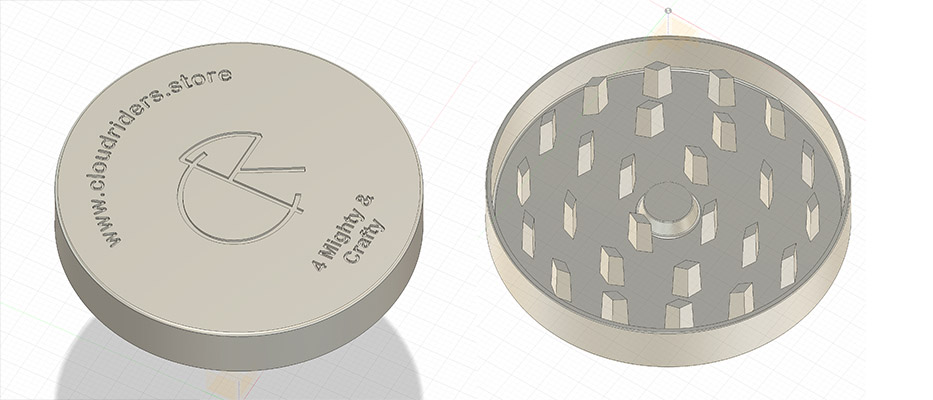
As you can see, the Lid is completely redsigned, with functionality, cost and look in mind.
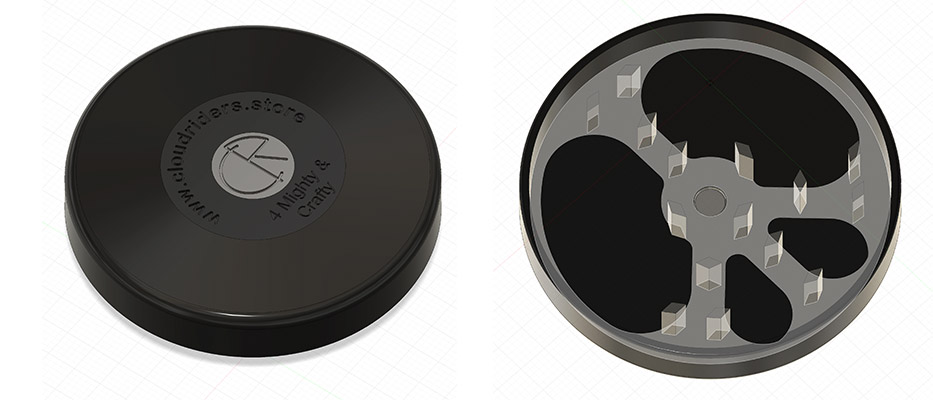
In the old design, I wasn’t sure if there was enough cutting blades, but it looked really cool.
This part has been heavily modified, changing the diameter was needed here, I won’t go into the details, but I want you to notice the new thread, this is what I mean with airtight.

Now there is obviously heaps of similarity, after all they are both Grinders, but the old one was made of three parts, which made getting it right, and putting it together, an expensive job.
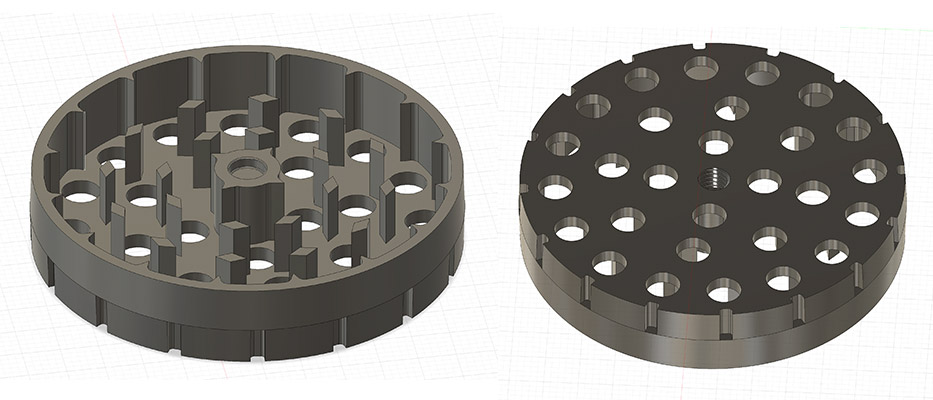
As you can see, small parts with small details, for no reason, I did this to save weight, Now the total weight of the Aluminium grinding parts in the new design is 50gm comparing to 56.7gm, SO WE SAVED WEIGHT. I guess the reson is less walls or thinner walls, I won’t anlyis this.
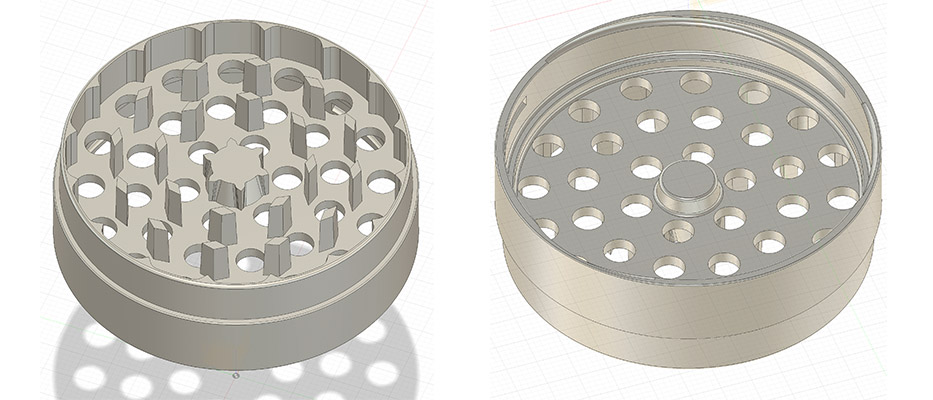
One part that was modified because of the prototype was the Collection chamber/ Filling Aid. Now it’s bigger in the inside, where it matters.
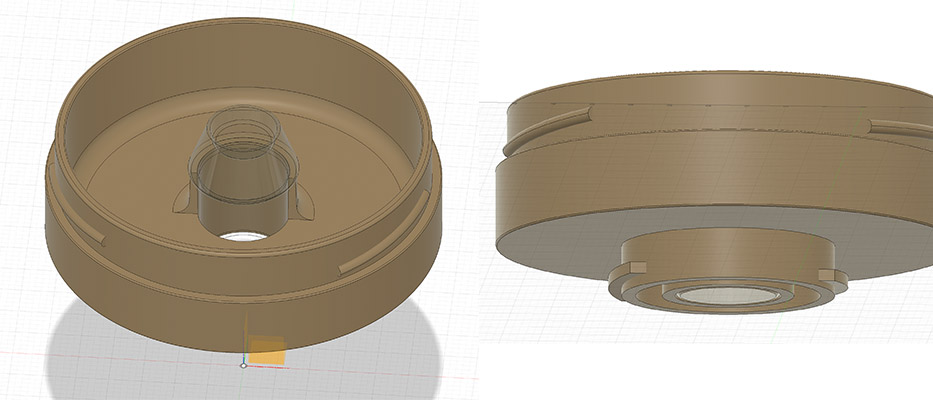
As i mentioned before it’s not completely finished, nevertheless; you can see the changes, if you compare to the OEM, which I was using for inspiration, now with no corners, it will be easier to use, and the extended wall on the Asher (the transparent part) will make holding it easier.

These are the main Improvements, I think the design will be ready mid next week, I’m going to get it 3d printed here, so I can test the fitting and then get a new prototype made in China to test the functionality.
Now, when I started this project, it was supposed to be few thousand, but now it’s creeping into the tens of thousands, which I can’t afford, and for that reason I decided to put this project on Indiegogo.com, this way I will find out if the idea will sell, and get fund to make the first order.
So I’m hoping this will be the last prototype, I actually was working on the precampaign when I received the prototype from Markforged, which changed everything.
Hoping to launch the pre-campaign on Indiegogo.com before the end of next week, and have the product in the market for X-mas.
That’s all for this week, until next Friday stay safe,
Peace ☮️
Very good blog post. I absolutely love this website. Keep writing!
The very next time I read a blog, Hopefully it wont disappoint me just as much as this particular one. I mean, I know it was my choice to read, however I really thought youd have something interesting to say. All I hear is a bunch of crying about something that you can fix if you werent too busy seeking attention.
Thanks for your comment, my post is about what is going on with me.
I was too busy moving countries.
But who knows, maybe you are right.
Have a good day 😊